Painting skirting boards is an excellent way to give a final and sophisticated touch to rooms, as well as protecting and renewing the appearance of this exposed part of the house. With the appropriate techniques and materials it is possible to obtain a smooth, flawless and highly durable finish. In this guide you’ll find the entire process on how to paint baseboards step by step, from preparation to completion, with tips for avoiding common mistakes and ensuring the job looks professional.
Summary of steps
First of all, it is essential to find the right materials and understand the conditions of the surface. Subsequently the skirting board must be cleaned, sanded and protected with adhesive tape. Applying paint involves choosing the appropriate brush or roller, thin layers, and drying between layers. Finally, the careful removal of protections and small touch-ups guarantee an impeccable final result. Follow the detailed topics for an organized and welcoming job.
Required materials and tools
Selection of paints and finishes
Paint: Choose a good quality acrylic latex paint or acrylic enamel. The semi-gloss or satin finish is more suitable for skirting boards, as it makes cleaning easier and resists impacts and scratches better.
Primer (sealant): essential for porous or unpainted surfaces, it guarantees adhesion and color uniformity.
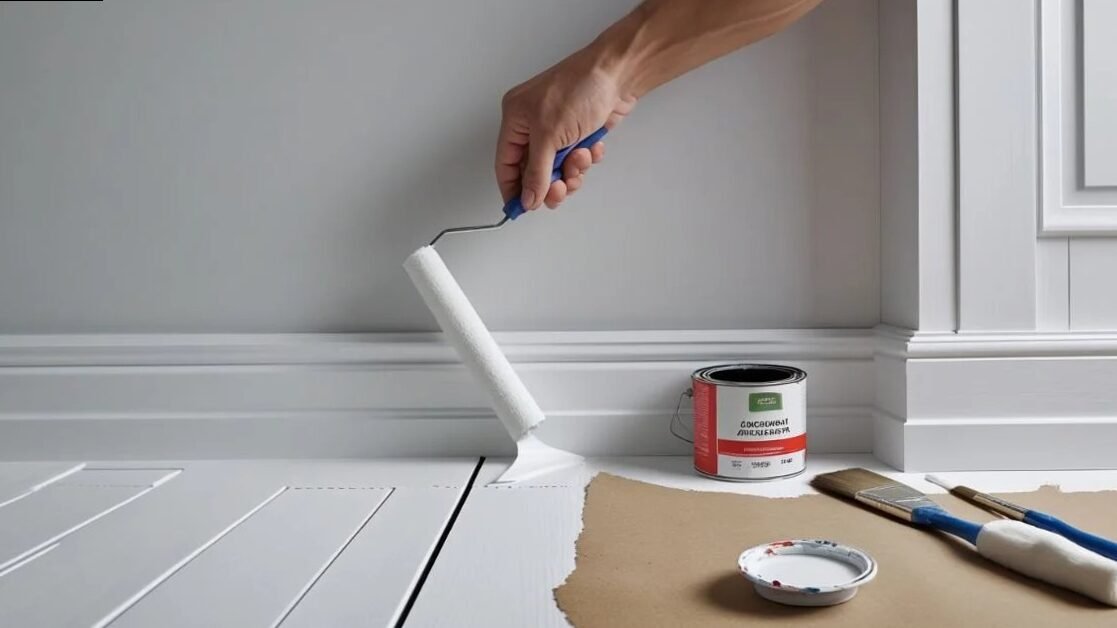
Photo: reproduction
Tools and accessories
- Cutting brush (“2–2.5” flat”): For straight finishes along the baseboard.
- Small roller or mini-roller (5–7 cm): for filling larger swaths without leaving brush marks.
- Sandpaper (120/150 and, if necessary, 220 grit): To smooth out imperfections before and between coats.
- Putty knife and putty: to cover any nail holes and grooves.
- Adhesive tape: to protect walls, floors and corners.
- Burlap or kraft paper: to cover the floor along the entire baseboard.
- Water, neutral soap and clean cloth: For initial cleaning.
- Paint tray: to distribute non-mini-rolo ink.
Surface preparation
Cleaning and dust removal
Before applying any product, clean the skirting board well with a damp cloth and neutral soap, removing dust, grease and impurities. Allow to dry completely to avoid bubbles in the paint.
Correction of imperfections
- Filling: Apply filler to holes and scratches with a putty knife.
- Sanding: After the filler has dried, gently sand until you obtain a smooth, flat surface. Use 120/150 sandpaper for initial touches and 220 for finishing.
Protection of adjacent areas
Cover the floor with burlap or kraft paper, securing it well. Apply masking tape to the joint between the skirting board and the wall and between the skirting board and the floor, ensuring straight lines and avoiding spills.
Application of primer (optional, but recommended)
When to use primer
- Plinths in raw wood or unpainted MDF
- Very porous or stained surfaces
- Change color from dark to light
Step by step primer
- Mixing: Mix the primer well before use.
- First coat: Using the cutting brush, apply a thin, even layer.
- Drying: wait the time indicated by the manufacturer (generally 2–4 hours).
- Fine sanding: Use 220-grit sandpaper to smooth any raised fibers.
- Cleaning: remove sanding dust with a dry cloth.
Skirting board painting techniques
Cut and fill with a brush
- Cutting: Start with the cut, passing the brush close to the tape. Keep the brush steady and always filled with paint.
- Movements: Use long, continuous movements to avoid marks. Work in sections of up to 1 meter to maintain control of the finish line.
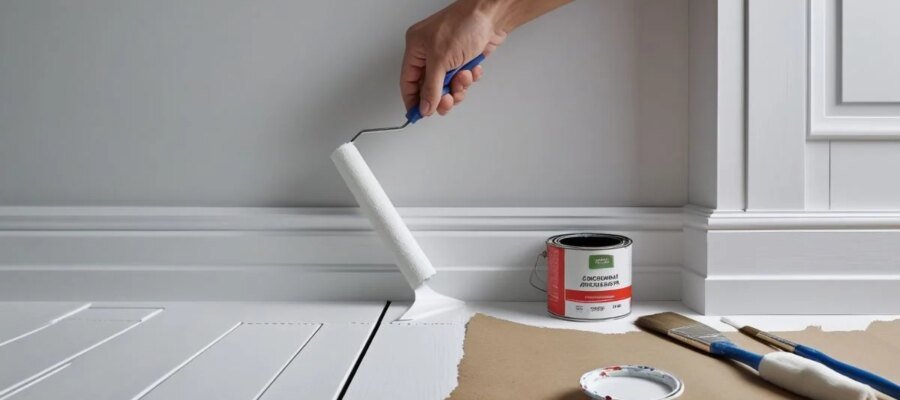
Application with mini roller
- Loading: Slide the roll onto the tray, wiping off excess to prevent drips.
- Vertical and horizontal rollers: After cutting with a brush, roll vertically to distribute the paint well, then roll lightly horizontally to even it out.
Coats and drying time
- Thin Layers: Choose two to three thin layers rather than a single thick layer.
- Interval: Wait the recommended time (between 4 and 6 hours) before lightly sanding (if necessary) and applying the next coat.
Finishing and retouching
Removing the tape
Ideal time: Remove the tape while the paint is still slightly damp, pulling it gently at a 45° angle. This helps prevent paint chipping.
Retouching
Check joints and meeting points (basement/wall and corners).
Use a thin brush for small touches, ensuring perfect lines.
Cleaning of instruments
Clean brushes and rollers with soap and water if the paint is water-based (latex/acrylic). For nail polish, use the solvent recommended by the manufacturer.
Further tips for a professional result
Temperature and humidity
Paint on dry days with temperatures between 15°C and 30°C.
Avoid very humid places or places exposed to rain, as drying could be compromised.
Prevent splashes
Work slowly and avoid overloading the brush/roller. Protect nearby furniture and objects with plastic sheets.
Future maintenance
For regular cleaning, use a soft cloth and a neutral detergent.
Touch up with a little pure paint to cover scratches without the need for a complete repaint.
Conclusion
Painting skirting boards is not just an aesthetic issue: it is about protecting the base of the walls, completing the furnishings and enhancing the finish of the rooms. With adequate preparation, the right materials and the techniques presented, you will obtain a uniform, long-lasting and professional-looking result. Remember to keep surfaces clean, use primer when necessary, apply thin coats and respect drying times. Finally, carefully remove the tape and make touch-ups to ensure perfect lines.
Frequently Asked Questions (FAQ)
Is it necessary to use primer before painting the skirting board?
If the skirting is made of raw wood, unpainted MDF or is stained, we strongly recommend using a primer to ensure better adhesion and color uniformity. If it is only a question of repainting on paint in good condition, it is possible to apply the acrylic finishing varnish directly.
What is the best paint for skirting boards?
Semi-gloss or satin finishes are the most recommended, as they offer easy cleaning, greater resistance to scratches and a light shine that enhances the decoration.
Can I paint baseboards on rainy days or in a humid environment?
It is not recommended. High humidity levels and very low or high temperatures compromise drying times and can cause blistering or poor adhesion. Look for dry days and moderate temperatures for best results.
latest posts published

Necessary accessories for a perfectly functioning terrace
Ancient wood sources for authentic projects

Tips for choosing an electric scooter

How do we preserve fruit and vegetables for the winter?

For a cleaner home: choose the most suitable vacuum cleaner!

Special carpets for spaces with heavy traffic
How to install LVT on steps with rounded edges
Design trends for colored rubber flooring
Antibacterial linoleum: safe option for schools and hospitals